Pizza was the very first recipe I prepared by myself, or almost by myself. In the beginning, my mother would make the dough and I’d take care of the rest. After I while, I started experimenting with the dough as well.
My mother, who didn’t care whether I made a mess of the kitchen or myself, tolerated my numerous experiments. I’ve made dough out of fresh and dry yeast, dough out of self-rising and whole grain flour, dough that contains just water, or milk and olive oil, or even eggs!
The most successful attempt was the dough that contained milk and olive oil, and the most shameful one was the one with eggs! As you can probably tell, I’ve made plenty of dough, with varying degrees of success.

When I was much younger, making pizza was something like a game. For a child, kneading dough is a lot of fun. It’s obvious to me now, as Alexandra refuses to leave my side whenever I make pizza. She wants, or rather demands, to make her own mini pizzas out of the dough that is (or isn’t) left over.
Mini pizzas are small dough balls that she stretches any way she can, then spreading plenty of sauce and adding only a tiny bit of cheese to let “the tomato’s beautiful colour shine through”, as she likes to say. The rest of the cheese and cold cuts, she either eats or drops on the floor. When taken out of the oven, the mini pizzas are always over-baked, tiny pieces of bread with a burnt tomato sauce that she, the proud chef, forces us to eat.
Trust me when I tell you, you don’t want to know the details about the mini pizzas’ taste, or the way our kitchen looks after they’re made… But I never lose my patience; I owe it to her, after causing such a ruckus in my own mom’s kitchen for so many years…
INGREDIENTS
(for 2 30-cm pizzas or for 1 large in a classic kitchen sheet metal)
- 500g of flour for pizza (00 type, available in chain supermarkets) or all-purpose flour
- 1 bag (8g) of dry yeast
- 250g of warm water
- 50g of olive oil
- 1 tsp of sugar
- ½ tsp of salt
- cheese and cold cuts of our preference
- mushrooms, peppers, slices of fresh tomato
For the tomato sauce (about one large cup)
- 200g tomato juice
- 1 tbsp of tomato paste or 3 tbsp of ketchup
- 1 tsp of sugar
- 1 tsp of dry oregano
- 1 garlic clove, mashed (optional)
- 2 tbsp of olive oil
- a few chopped leaves of fresh basil or 1 tsp of pesto sauce
- a bit of salt, a lot of pepper

INSTRUCTIONS
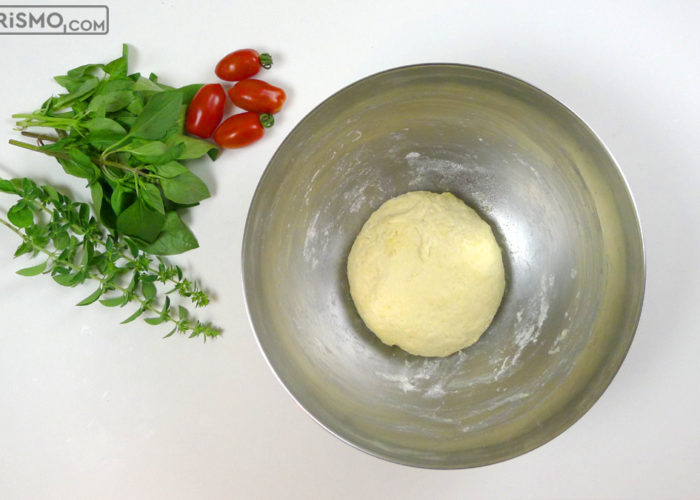
In a bowl, start mixing the flour with some salt. Next, make a tiny hole in the middle and add the yeast, sugar, olive oil and a bit of the water, let the ingredients mix and then, as you gradually add the rest of the water, start kneading. Don’t overdo it, it only needs some mild movements, just barely enough to get you a soft and stretchy dough.

There’s a chance you might need to add some flour if the dough is too soft, or some water if it’s too tight. Don’t worry too much though; even if the dough ends up a little softer or tighter than intended, it doesn’t mean your pizza is ruined.
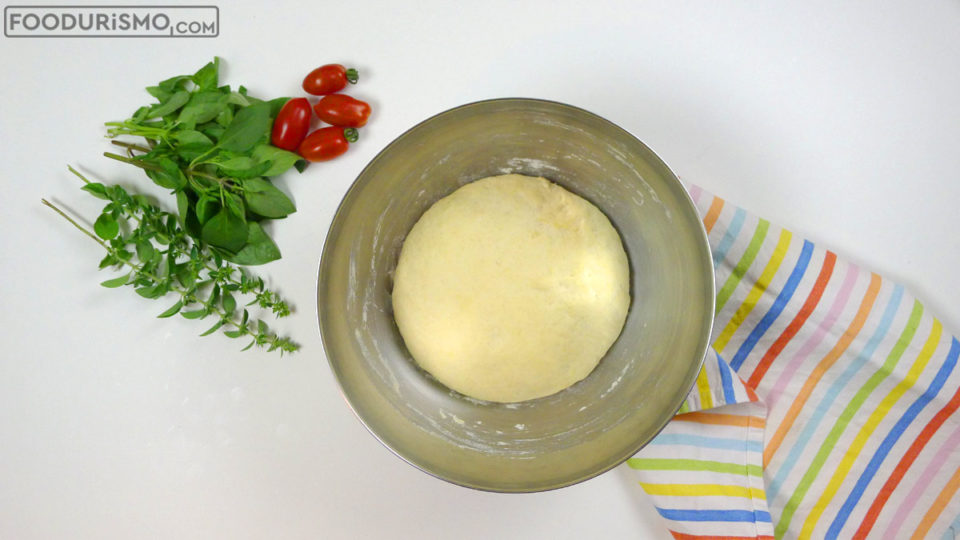
Cover the bowl with a kitchen cloth or some wrap and let it rise for about 40 minutes. It’s ready when it’s double in size. The time needed isn’t rigid, and can change from time to time, depending on the temperature of the ingredients and the atmosphere. But when you start seeing… double when it comes to the dough, you’re good to go, however long it’s been.

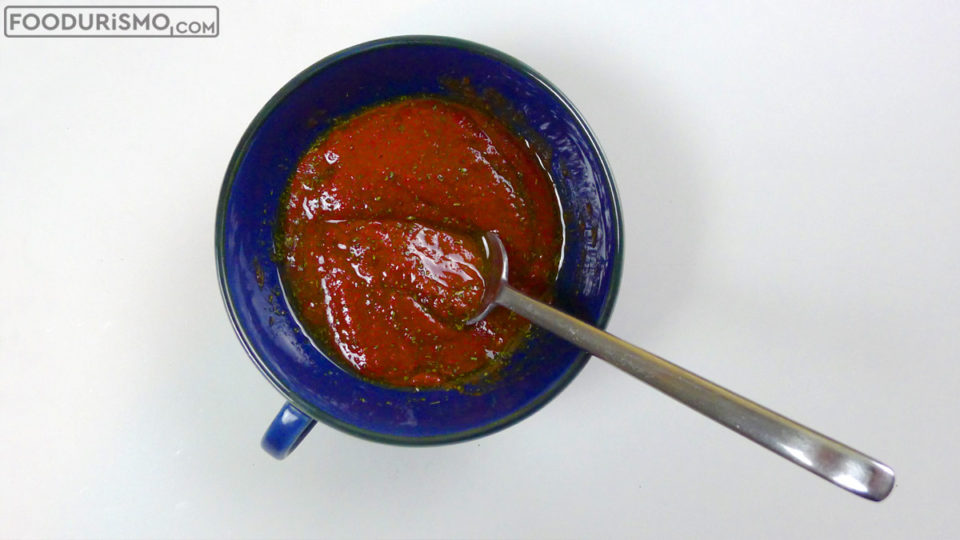
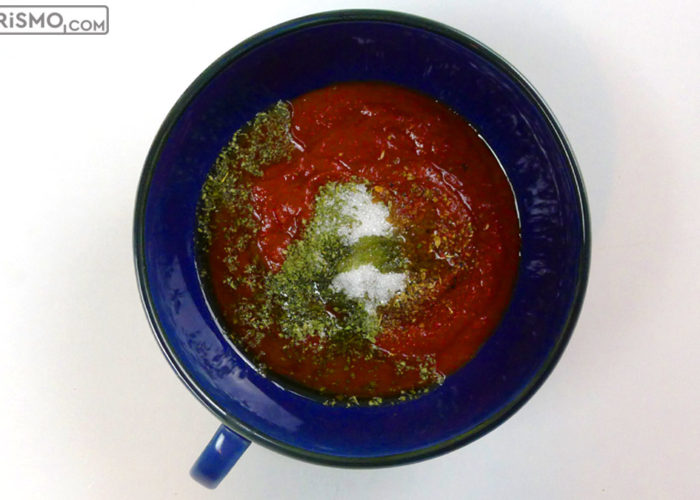
While the dough rises, make the sauce. In a small bowl, put in all the ingredients and mix well.
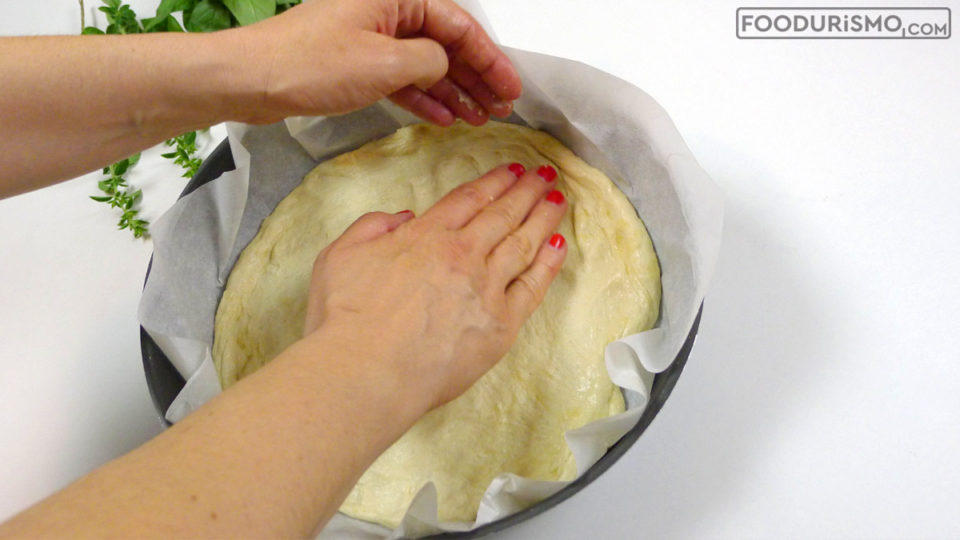
When the dough rises, drop some olive oil on your hands and spread the dough on a pan covered with non-stick baking paper. With your palms, you can spread it by pushing it outwards. You decide how thick or thin you want your dough to be.


Next, spread the tomato sauce and place the other ingredients on top. Make the cheese mix you prefer, pick the cold cuts and other toppings like peppers and mushrooms, and let your imagination run wild…
Bake the pizza in a pre-heated oven, at 200 degrees for 15-20 minutes.
Use the fan or the bottom resistor of the oven and place the pan on a lower tier, to make the pizza bake faster.
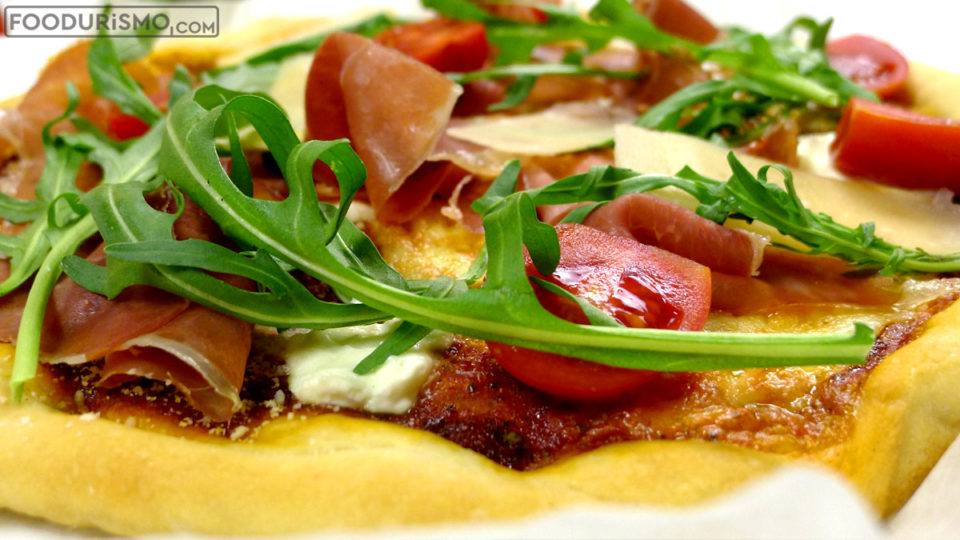
The pizza specialists, the Italians, say that pizza must be “frightened, not baked”. That, of course, is only possible when your pizza has a very thin crust, and mainly when it’s baked in professional ovens of 350 degrees; in those cases, pizza only gets a “fright” of about 4-5 minutes. In our home kitchen this is not an option, however we can try not to over-bake the pizza, while placing it on a lower tier for as little time and with as much heat as possible.

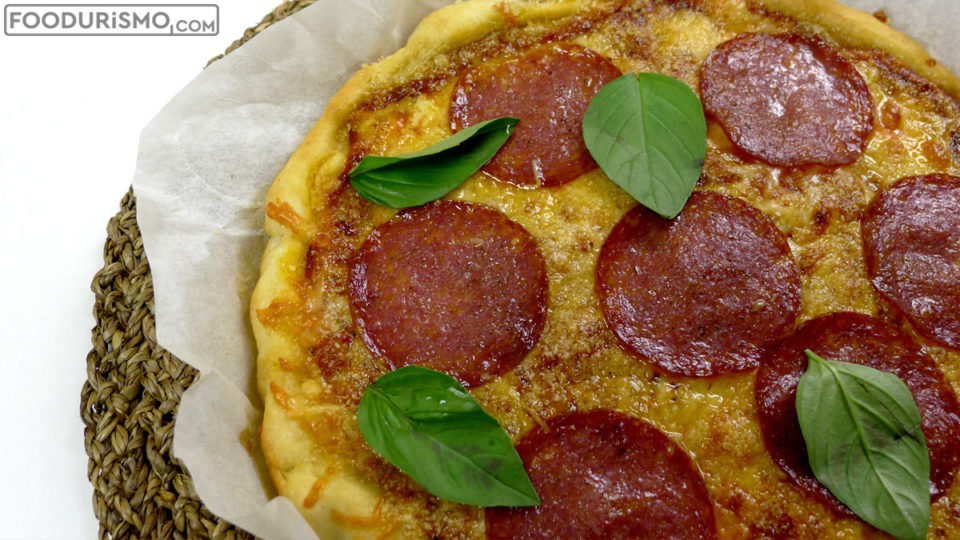
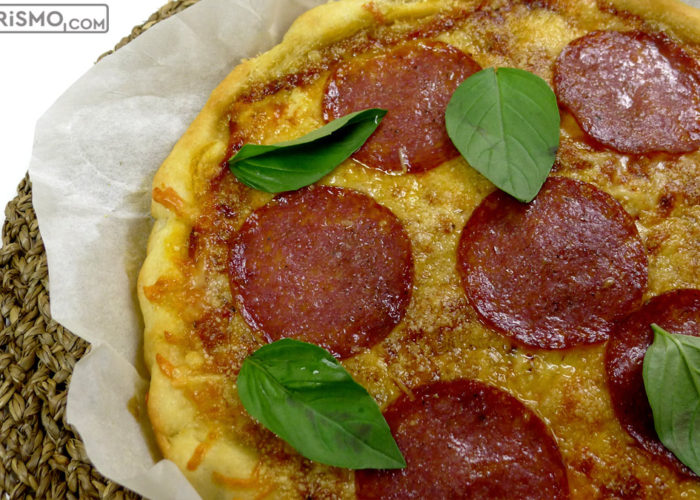
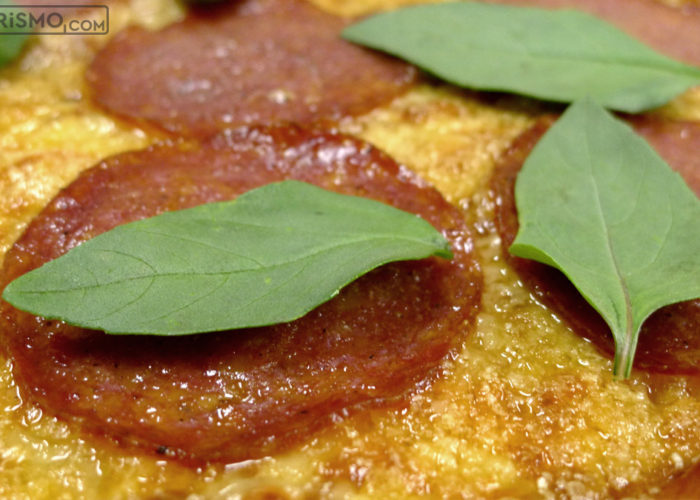
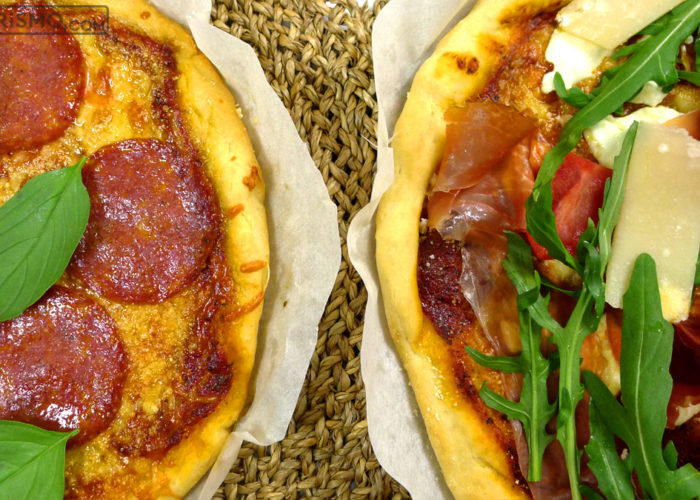
In the two pizzas I made here, I used salami, kaseri and gouda cheese in one and fresh mozzarella, prosciutto, rocket and parmesan in the other. You can use pretty much whatever you like. Don’t hesitate to make your own cheese mixes, or to have sausage, smoked turkey or salami as toppings.
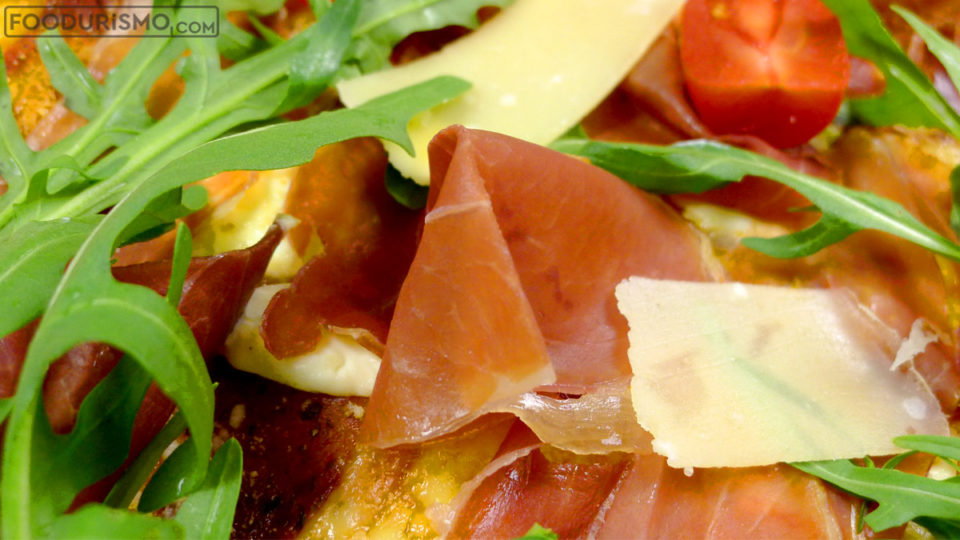
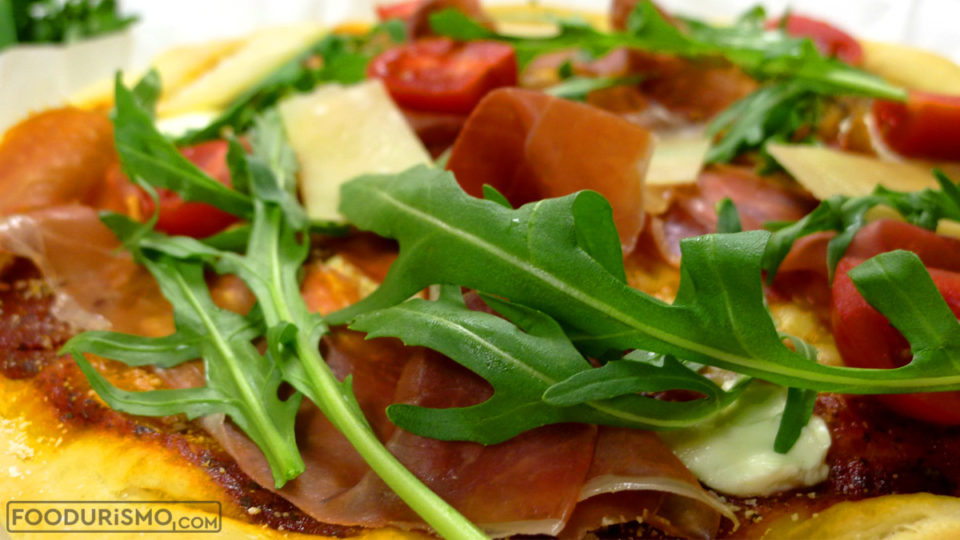
Try adding the cured meat after the pizza is completely baked or in the last couple minutes of baking. That allows the meat to maintain its taste and be noticeable when you eat the pizza. Baking them beforehand makes them dry, which is a crying shame…


