

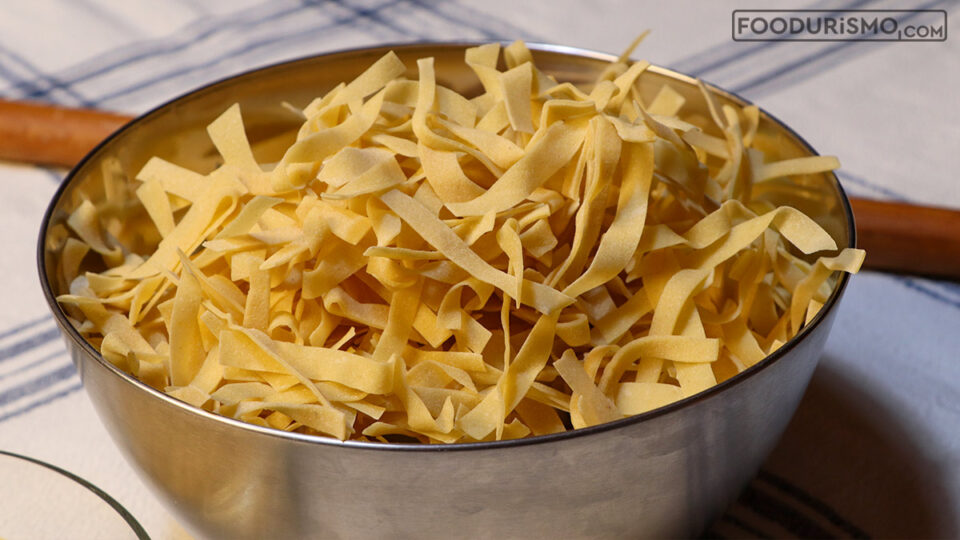
The best hilopites are the handmade, homemade ones – everyone knows that!
That is also the main reason why someone goes through the process of making them at home instead of buying them off the shelf.
The enduring image of the summers of my childhood is of tables and beds around the house being drafted into service so we could “dry” the hilopites.
Back then, my mother would gather village eggs and fresh goat’s milk and make the hilopites at a local pasta workshop. She would bring them home fresh, almost soft, spread them out carefully, and wait until they dried completely before storing them.
This summer, I decided to revive the tradition of hilopites, though not from my own childhood but from my mother’s childhood, back when the entire process of making hilopites was done entirely at home. The challenge for me is to learn to make hilopites on my own, as well as my favorite gkogkes.
Hilopites as They Used to Be
Several decades ago, during the summer months, homemakers would make—among other things—homemade hilopites. The eggs came from the hens in the yard, the milk also came from domestic animals, and the flour came from local crops.
Women from the neighborhood would lend a hand so the hilopites for the entire year could be prepared, usually for large families. As you can imagine, it was a major undertaking and required excellent cooperation.
The eggs had to be beaten well, kneading required strong arms, rolling out the dough sheets demanded skill, and cutting the hilopites by hand required experience and speed.
“I wish I knew how many hilopites I cut when I was little,” my mother told me when I said that this summer we would revive the process of traditional homemade hilopites from Laconia.

The process was done in the traditional way; the only thing that was different was the quantity. In the past, each household making hilopites for the whole year might have needed 40 to 50 eggs.
We made the recipe on a… smaller scale. The quantity of eggs I give you in this recipe is for about 750–800 grams of dried hilopites.
If you want to make more so you have plenty for your cooking, increase the quantities accordingly.
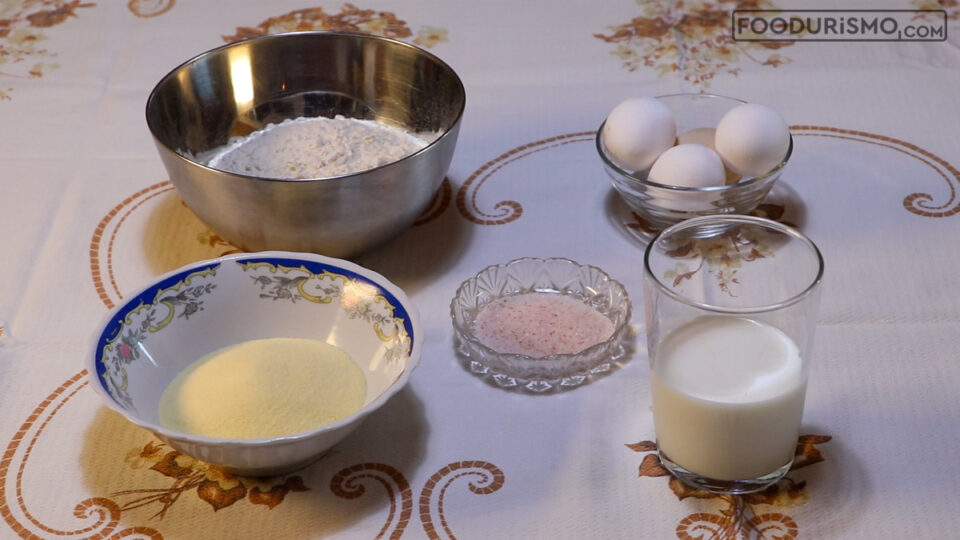
INGREDIENTS (for 750 g hilopites)
- 200 g fine semolina
- 150 g yellow flour + 150 g all-purpose flour
- 4 eggs
- 150 ml fresh milk
- 1 tsp salt
With the Foodurismo automatic ingredient converter, easily see, for every recipe, how many grams or ml correspond to each cup. Try it here!
INSTRUCTIONS
Crack the eggs into a bowl. Add the salt and milk and beat well with a whisk or hand mixer for 2 minutes.
First add the semolina and mix. Then add the flour mixture, kneading with your hands.
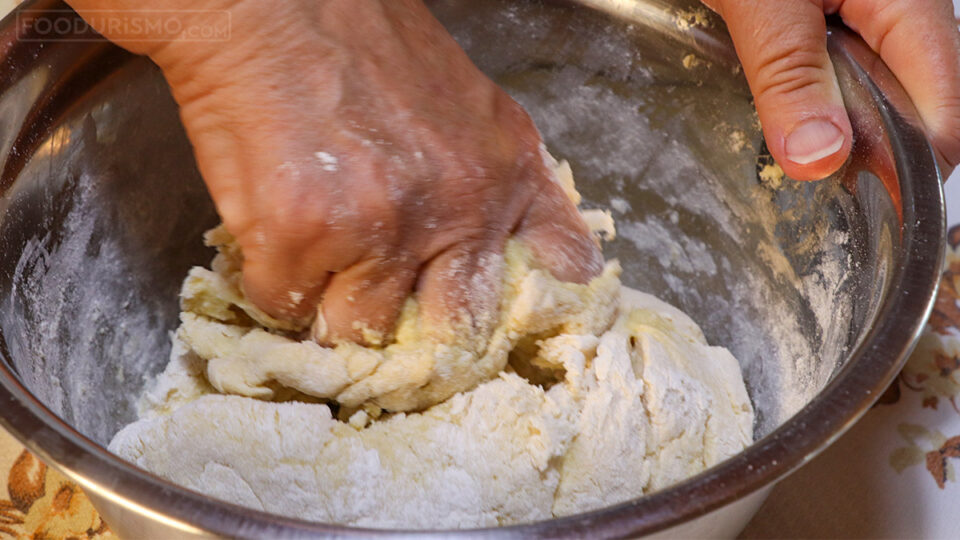
The Right Dough
We want the dough to be relatively firm and smooth. Moisten your fingers with just a few drops of olive oil and shape the dough into a ball. Place it in the bowl and cover it with plastic wrap. Let the dough “rest” for 1.5–2 hours.
We will roll out the dough sheets on a sturdy table or a spacious kitchen counter.
Cut off ⅓ of the dough and shape it into a ball with your hands. The amount of dough given in this recipe is enough for three large sheets.
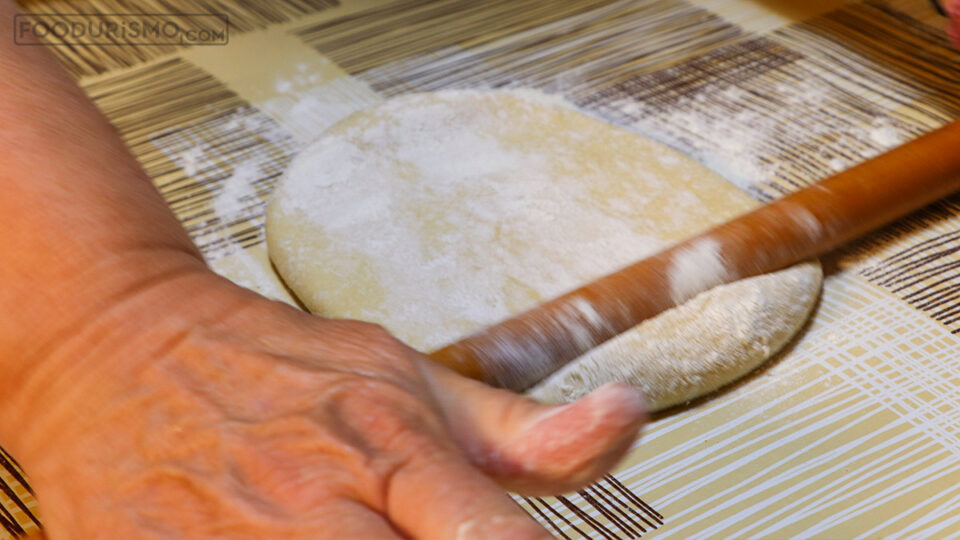
Dust the surface where you will roll out the sheets with a little flour, and begin rolling them out with a rolling pin.
The Importance of Rolling Out the Sheet
Make sure the sheet has an even thickness and is not too thin. We want it thick enough to withstand handling when cutting the hilopites.
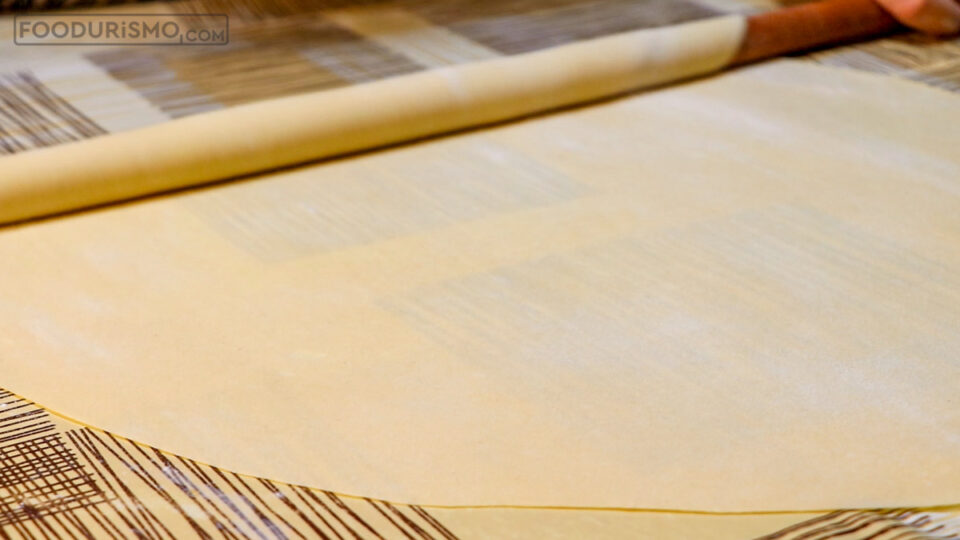
Spread the sheet out on a large surface so it can rest, that is, lay it on a bed or another table after first covering it with a tablecloth or another large clean cloth.
Continue with the remaining dough, making two more sheets.
Spread these out on the cloth as well. Let the sheets rest for about half an hour, until they begin to dry and firm up slightly. Do not let them dry out completely; we just want them to dry a little so we can cut the hilopites easily without them sticking.
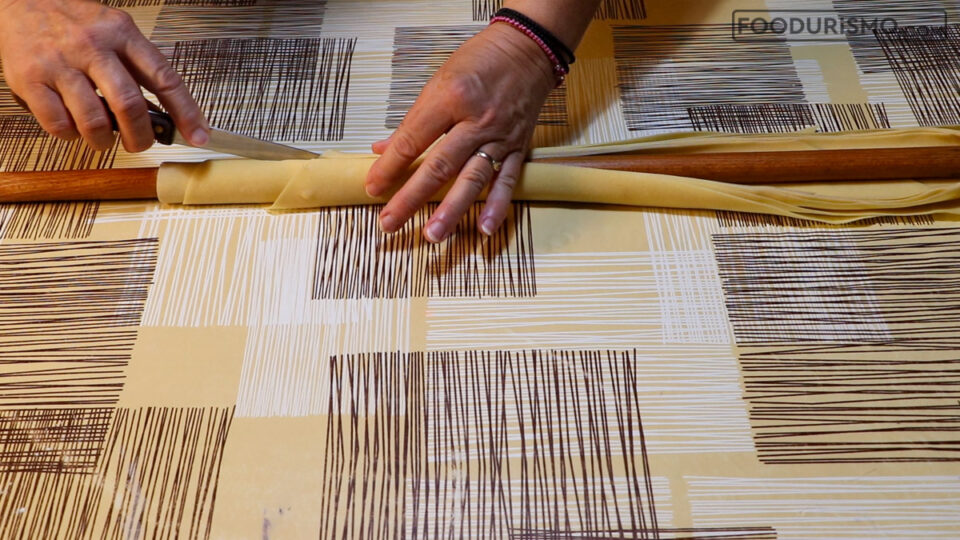
Wrap the first sheet you made around the rolling pin. Wrap it all the way around. Watch the video carefully at this point; it will help you a lot. With a knife, cut a straight line along the length of the rolling pin and the sheet wrapped around it.
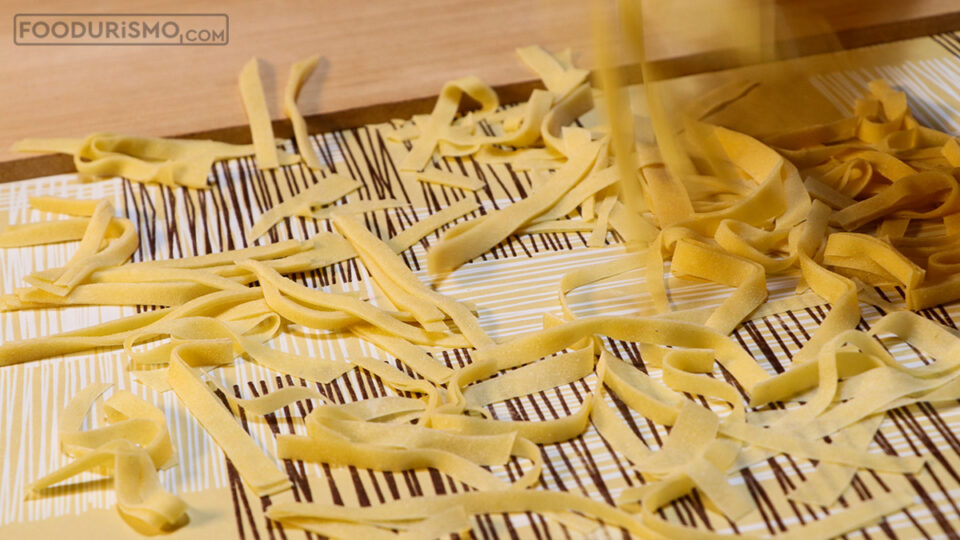
Let the sheet fall off the rolling pin. You will see that you now have long strips of dough, like long lasagna sheets.
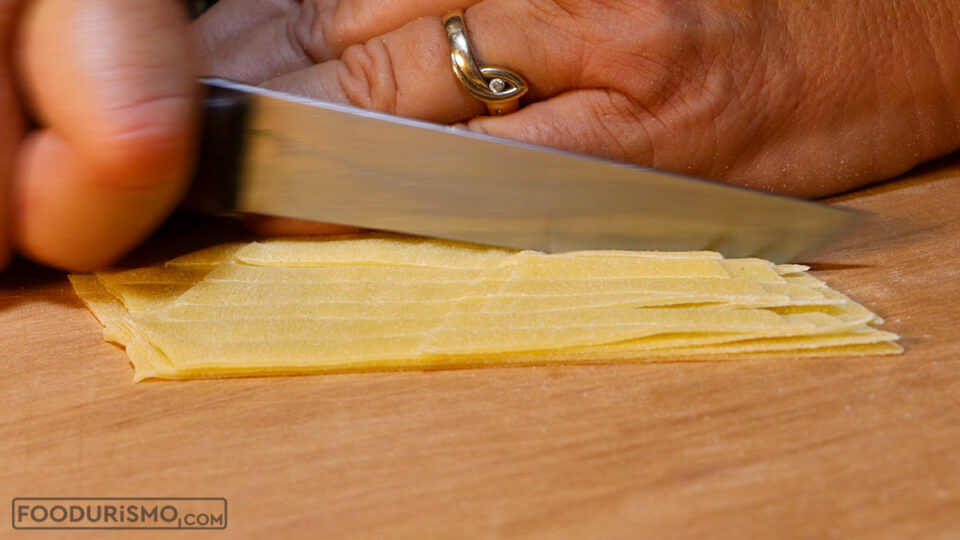
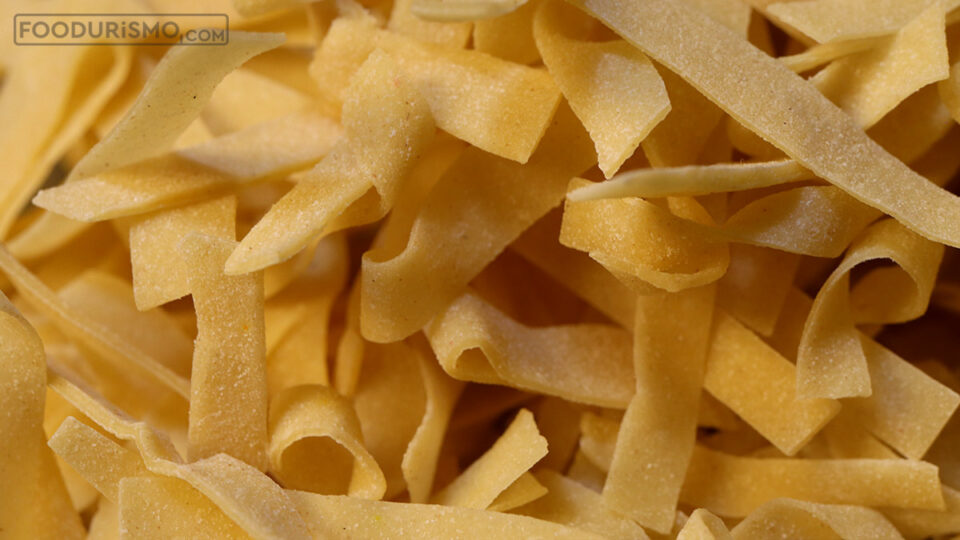
Cut the original long piece into two pieces. Transfer one half onto a cutting board for greater stability and cut it into thin strips about half a centimeter thick. In other words, give them the shape of long hilopites. Separate the hilopites from one another and spread them out on a baking tray or tray to dry.
Repeat the process with the remaining sheets.
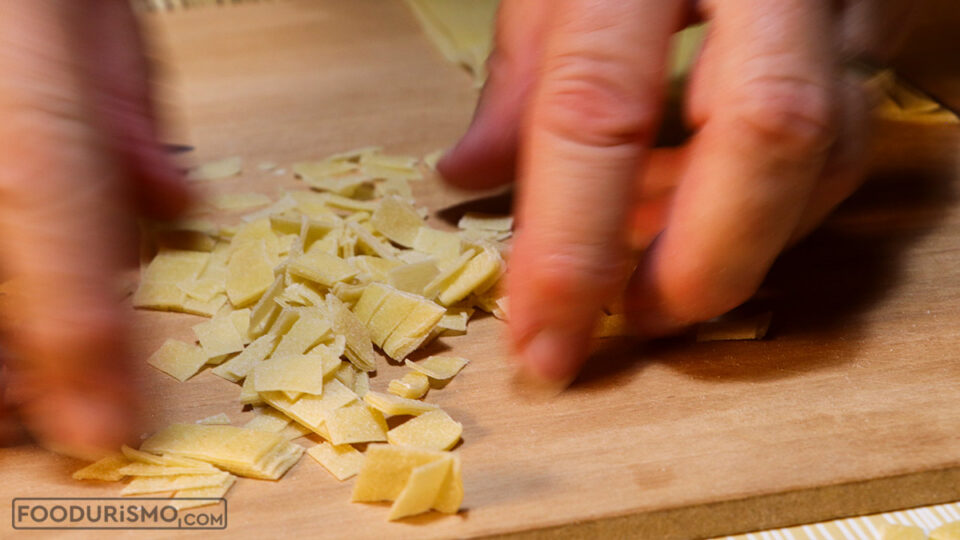
You can also make small square hilopites if you like, by cutting them into little squares with a knife.
The Drying Process
Spread out all the hilopites without piling them up, and leave them to dry in a shaded place without humidity. Ideally, the hilopites should dry in a room with good ventilation and where there is not a lot of foot traffic, so the space stays relatively clean and dust-free. Stir them with clean hands once or twice a day.
The hilopites need about 6–7 days to dry properly.
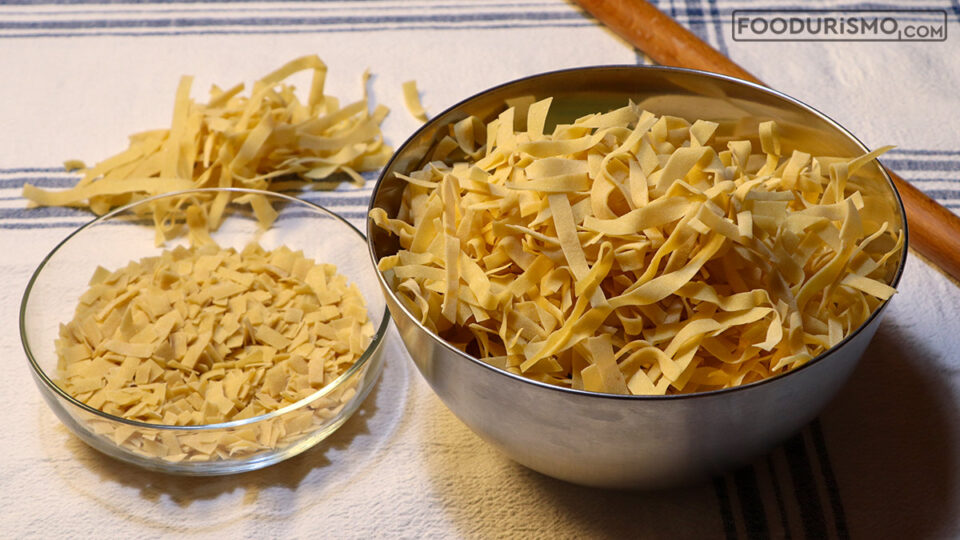
Store the hilopites in jars.
To instantly learn about all our latest updates, follow foodurismo on Facebook, on instagram, on pinterest and also subscribe to the foodurismo channel on youtube